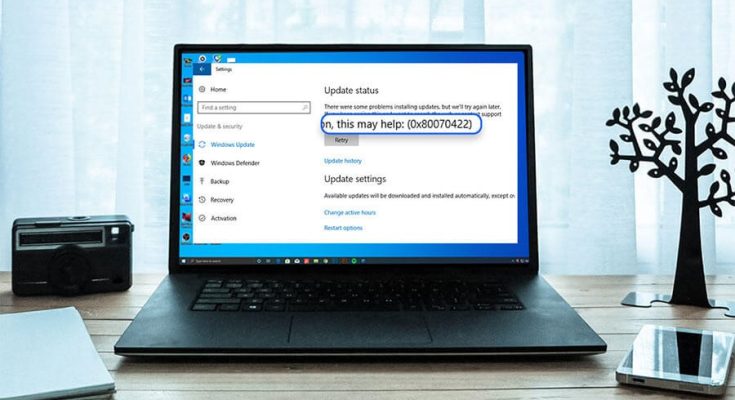
The “Windows update error 0x80070422” is reported by numerous Windows 10 and Windows 11 users while attempting to install the latest update. Unfortunately, it either prevents the update process or causes the update to become stuck with the error message. This is inconvenient, and after investigating the problem, we discovered several reasons that prevented the update from installing and displaying the error number 0x80070422.
We have provided the best feasible solutions that have worked for many impacted users to resolve the error in this article. But first, it’s critical to understand what’s causing the Windows 10 Update error 0x80070422.
What Is The Source Of Windows Update Error 0x80070422?
There are several reasons why the Windows Update Service may have stopped running and displayed errors when updating. The major cause of error 0x80070422 is a third-party antivirus program or incompatible apps or files, which might obstruct the update process. Nonetheless, there are more reasons listed below:
1 – Due to poor internet connection.
2 – Insufficient storage.
3 – Interference with the update is caused by third-party apps.
How To Fix Update Error 0x80070422 In Windows 11/10?
So, these are some of the most prevalent reasons for the Windows 10 update error. Now, follow the solutions provided to resolve error number 0x80070422.
Note: To apply the patches listed below, you must first log in as an administrator to your system.
1. Reboot Windows Update Service
Restarting the Windows update service resolves typical glitches and bugs that might cause issues. So, it is suggested here to restart the update service and fix the issues. To do so, follow these steps:
1 – Open the run dialogue box by pressing the Windows key and R on your keyboard. Enter services.msc in the run box and press the Enter key.
2 – Next, find the Windows Update service in the list. To accomplish this, press the W key on your keyboard, which will take you to the Windows Update service.
3 – Right-click on Windows Update and select Properties.
4 – Confirm that the Startup type is set to Automatic.
5 – Confirm that the Service status is set to Running. If the Service status is not running, click the Start button to start it. It then clicks the Apply and OK buttons to save the modifications.
6 – Finally, verify to see if the following services are running or not:
BitLocker Drive Encryption Service
DCOM Server Process Launcher
Network Connections
Windows Firewall
If any of the services mentioned above are not running, right-click on them and select Start. This will fix Windows 10 update error code 0x80070422.
2. Turn Off IPv6 In Network Center
1 – To open Network Connections, press the Windows key and X simultaneously on your keyboard, and then select Network Connections.
2 – Select the Network and Sharing Center button on the right side of the window.
3 – Find your connection and click on it to get its complete details.
4 – Click the Properties.
5 – Locate Internet Protocol Version 6 (TCP / IPv6) and uncheck the box next to it. To save all of the modifications, click OK.
6 – Reboot your computer and attempt to update it.
You will no longer see Windows update error 0x80070422 after disabling the IPv6 network center.
3. Disable Network List Service
1 – Open the Run dialogue box by pressing the Windows key and R, then type services.msc into the box and press the Enter key.
2 – Now, look for the Network List Service, which you may find by pressing the N key on your keyboard. Right-click on Network List Service and then select Properties.
3 – In the Startup type category, select Disable from the drop-down box.
4 – Finally, ensure that the Service status is NOT Running. Well, if this is the case, click the Stop button. After that, click the Apply and OK buttons to save all of your modifications.
4. Restart Network List Service
Many customers were able to fix error 0x80070422 on Windows 10 by following the steps in the correct order.
1 – Open the service window by following step 1 of fix 1 or 2.
2 – After launching the services window, open the Windows Services.
3 – Locate the Network List Service, right-click on it, and then find Restart. You may alternatively pick Stop and then Restart instead.
4 – Finally, attempt to update your computer again.
5. Verify EnableFeaturedSoftware Data
1 – Press Windows + R to open up the Run dialogue box. Well, to open the Registry Editor, enter “Regedit” in the run box and press the Enter key.
2 – Now you must find out the following key: HKEY_LOCAL_MACHINE > SOFTWARE > Microsoft > Windows > CurrentVersion > Windows Update > Auto Update.
3 – Check the box next to EnableFeaturedSoftware Data and set its value to 1.
6. Run Windows Update Troubleshooter
1 – Open the computer settings by pressing the Windows key + I.
2 – Go to the Updates & Security area on the left pane.
3 – Then click Troubleshoot.
4 – Finally, click on Windows Update and select Run troubleshooter.
7. Disable 3rd Party Antivirus
As previously noted, your security program may be interfering with the update and preventing it from installing. As a result, the third-party security program is suggested to be temporarily disabled. First, check if the Windows 10 update is installed after disabling it. Then, after installing the update, start the antivirus program. Then, hopefully, you will no longer experience the error code 0x80070422 on Windows 10.
8. Repair Corrupted Windows Files
Running inbuilt procedures such as SFC and DISM scans can fix broken Windows system files and allow you to install updates easily. To run the commands, follow these steps:
1 – Press the Win+R keys together, type cmd into the Run box, and press Enter.
2 – Now, open Command Prompt as admin.
3 – Type sfc/scannow in the command prompt and press Enter.
4 – When the scanning procedure is completed (approx. 15 min.).
5 – Type DISM /Online /Cleanup-Image /RestoreHealth and press Enter.
6 – Wait for the scanning procedure to be completed (approx. 30 min.).
7 – Exit the command prompt and reboot your system.
Install the update and see if the error 0x80070422 has been resolved.
9. Download Media Creation Tool
If none of the following solutions work for you, it is suggested that you install the update manually. To do so, follow these steps:
1 – First, Download Media Creation Tool.
2 – Run MediaCreationTool.exe and select Upgrade this PC immediately.
3 – In the process, select Keep personal files and apps.
4 – Install it and restart your device.
5 – Also, try installing the updates.
This will replace the corrupted Windows files and allow you to install the update without seeing the error code 0x80070422.
What Happens If We Don’t Install The Update?
Windows updates are required to be installed since they fix vulnerabilities and install your computer from external attacks. If your Windows OS is not kept up to date with the latest patches, it can harm the entire computer; some of the major issues that you may encounter on an old system are as follows:
1 – It may become vulnerable.
2 – Unable to use the latest features.
3 – The system will show new error pop-ups.
4 – Your Windows 10 PC will randomly stall and reboot without notice.
As a result, it is always advised that you download and install the required update as soon as possible on your PC.
Also Check :
Final Words:
So that’s it for the Windows Update Error 0x80070422. All the solutions provided are simple and have been proven to resolve errors 0x80070422 on Windows 10 and 11. It is expected that the solutions provided would solve the update error and allow you to install the update. I hope you find this post beneficial in resolving your issue.